
The beautiful things we can create with Polymer Clay are endless.
With very little skill, you can shape this clay into almost anything your heart desires. Although it’s a pretty popular medium for jewelry making – it’s a gamer changer for DIY addicts like us, and I plan to tell you why.
It’s affordable and fun.
Before you know it, you’ll be able to recreate your favorite sculpture, bowl, or even make chic wall art, and the best part is I’m going to show you how.
But first, we need to take care of some housekeeping items.
What Is Polymer Clay Used For?
Polymer Clay is commonly used for art and crafts projects. The sculptures found in some of the most famous museums most likely were created by using Polymer Clay.
Do You Bake Polymer Clay?
Yes. The clay will remain pliable and will not harden until it is dried out. After you shape your clay into your desired design, it will need to bake in the oven to remove the moisture and harden permanently.
If not baked correctly, the end product will be brittle and fragile.
PRO TIP: There are a few popular brands that are susceptible to breaking even when following all baking instructions.
After much research, I decided to purchase this starter kit for my project.
How To Properly Store Your Clay?
If possible, try to store it in the original package. If that is not possible, it should be placed in an airtight container away from sunlight and heat.
The reason heat should be avoided is because the clay can begin the baking process when exposed to heat. For example, if left on your porch or in a hot car. It’s popular to store the unused clay in a pantry or refrigerator.
What Does Conditioning Mean?
Once you have your polymer clay ideas in mind and have gathered your supplies, you will need to condition the clay for your project.
This process will involve warming the clay by working, stretching, and kneading the clay with your hands. Next, you can divide the clay into smaller chunks and form the clay into its future shapes.
Forming the clay can be done with a rolling pin or mug to help flatten it out. You can also use baking cut-outs for shaping the clay into patterns and objects.
Where To Buy Polymer Clay?
It can be purchased at any craft store of your choice. For convenience, I ordered my first kit from Amazon since it was a fair price, and it came with a storage container.
DIY Clay Ideas To Try For Your Next Project
Ombre Bowl Polymer Clay Tutorial
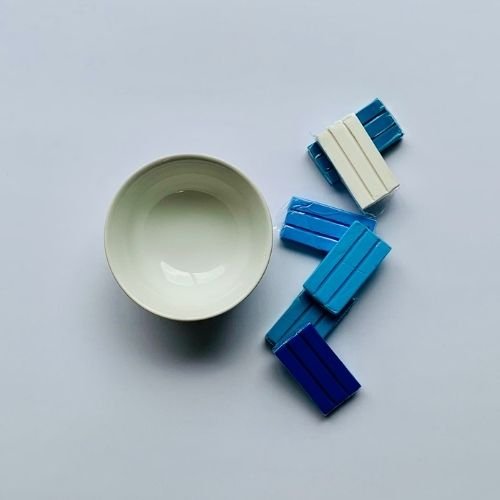
First, choose several clay colors you would like to work with and arrange them from light to dark or vice versa.
Break each clay block into smaller pieces and begin working the clay to form long rolls. This can be accomplished by rolling the clay in between your hands quickly, as shown in the video below.

Next, create a pinwheel as shown.
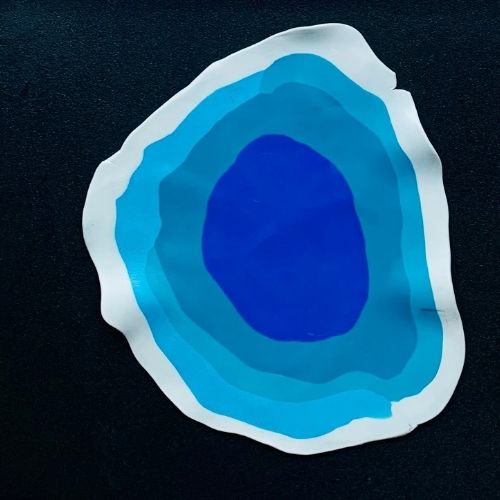
Using a rolling pin or a mug, begin working the polymer clay to flatten it.
As you do so, you will start to see the clay blend together.
Be careful not to roll the clay too thin or unevenly as this could cause issues when baking.
You can lay the clay over the back of a bowl or mug to shape your clay.
When placing the clay DO NOT press down too firmly as this could lead to the clay cracking while baking.
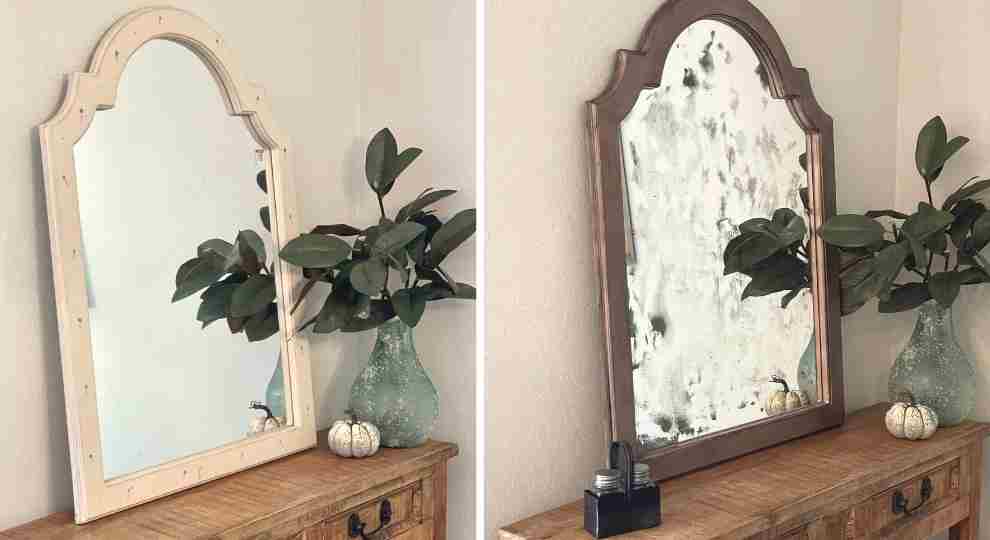
After MUCH research I’ve learned that despite following all directions our finish product may have some imperfections or hairline cracks.
To correct this I used Mod Podge to seal and strengthen my end product.
Ombre Bowl Polymer Clay Tutorial
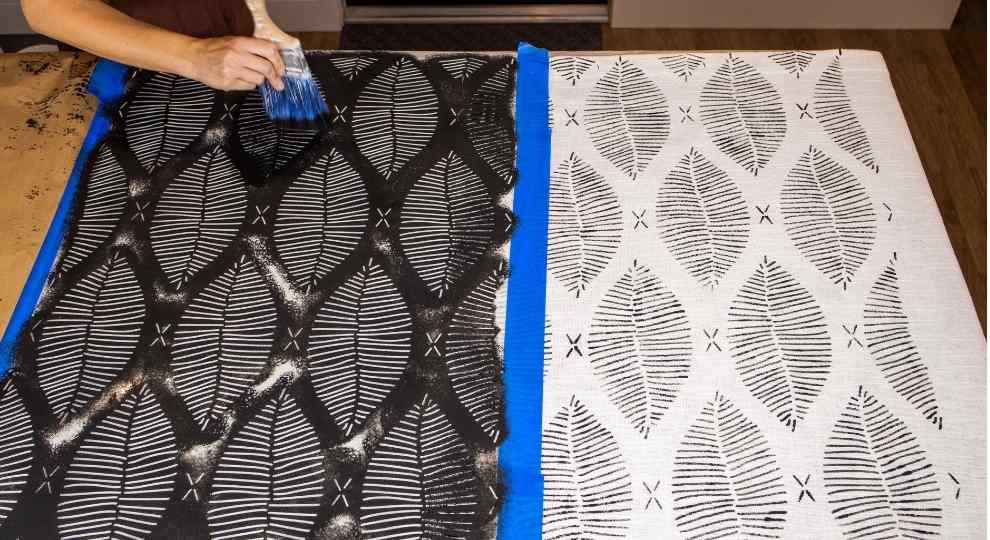
Twisting Your Clay To Create A Beautiful Pattern
- Roll clay into long rolls.
- Then twist the rolls together and fold. The tighter you twist, the smaller the pattern will be.
- Next, form the clay into a ball and press down. Use a mug or rolling pin to flatten.
How To Shape Your Clay
- Lightly place your clay in a bowl to help it take shape while it bakes.
- Follow the manufacturer’s instructions for baking.
In Conclusion
Polymer Clay is very easy to work with, and you can easily whip out a few gifts for friends in the process.
For more home styling and DIYs, drop by anytime. Hey, we’re always up for company. In the meantime, check out my post on Crafts For Adults Worth Trying {DIY Marble Mugs }


Leave a Reply